
After all too much ruminating over whether I could create something with the form, these are the steps I took to make this work happen:
1) I brought the form in from the outside and made a pattern from one of the leaf shape ribs. There were six leaf shapes on the iron piece.
2) I then pulled out a roll of water soluble stabilizer and traced around the pattern six times onto a length of the stabilizer.
3) Next I dug into my stash if fibers, pulled out some Angelina fibers and ironed some of the fibers to make what could almost be described as fabric.
4) I then turned over the stabilizer and laid the ironed pieces of Angelina fiber over the outline of the leaf shapes.
5) Another layer of stabilizer was laid over the first stabilizer layer and the layer of Angelina fiber fragments to make what would become a quilted sandwich.
6) After the layers were pinned together, I set about stitching each leaf with gold metallic thread and a free motion foot.
7) I then satin stitched around each leaf shape.
8) Once all leaf shapes were completed I cut around each leaf shape.
9) Next I sandwiched more Angelina fibers between more water soluble stabilizer and created a round, flower shape that would become the bottom where all the leafs would meet.
NEXT CAME THE REALLY FUN PART!
10) I laid out a piece of parchment paper on the worktable to protect it.
11) Next I turned the wrought iron shape upside down and wrapped it in plastic wrap to also protect it.
12) I then submerged the individual stitched pieces in warm water to BEGIN the process of removing the stabilizer. NOTE: I only dissolved the stabilizer enough to be able to see the Angelina fibers and the stitching.
13) Because I left much of the element that makes the stabilizer soluble, the forms became exceptionally sticky and that was just what I wanted.
14) I then laid the leaf shapes over the plastic wrapped wrought iron form and placed the now sticky flower shape over the end.
15) To keep the shapes from slipping off of the plastic wrapped form, I inserted daisy headed pins through the leaf shapes and through the plastic wrap.
16) The most difficult part was waiting for the piece to dry.
17) Once the piece was dry it had become stiff but still bendable. To further stiffen the pieces I painted them with Stiffy Fabric Stiffener and then let that dry.
18) After the unit was completely dry, I used a large needle with metallic thread to stitch along a section of each leaf shape rib to create something akin to a vase shape.
19) Finally, I rolled the tip of each leaf shape, lightly squeezed the roll, and then let each roll unfurl.
WaaLaa... Success!!
This is a process that I definitely wish I had taken pictures of along each step.
Here are a few other views of the completed work.
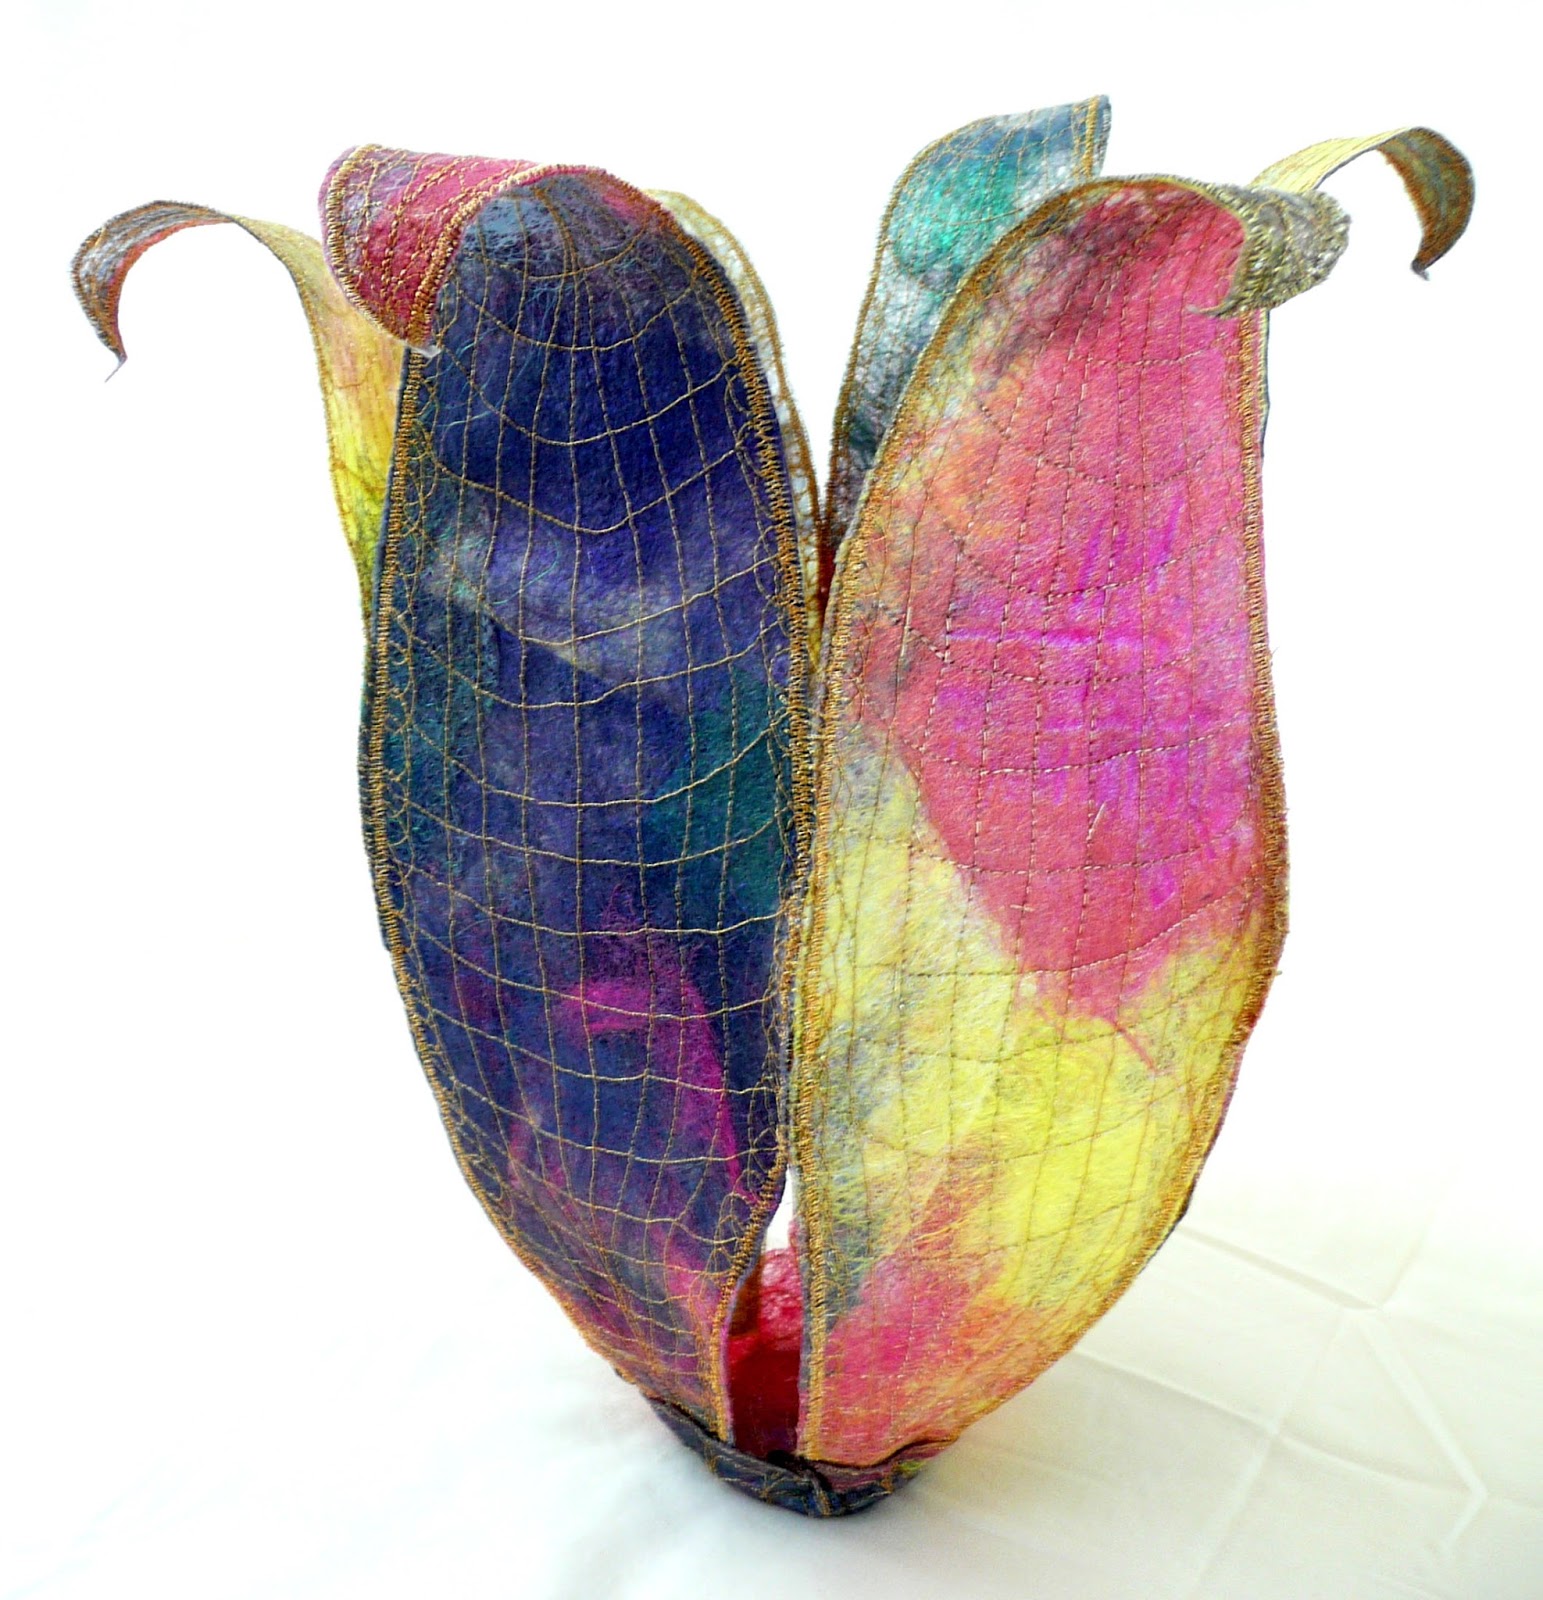 |
| Another Frontal View |
 |
| View Looking into the Form |
Always remember, never fear to experiment.
Sometimes wonderful things happen.

© Linda Friedman 2016. All rights reserved


