Here's a quick Shibori project you might like to try. Be not alarmed by the number of steps I took. The longest part of this project was waiting for it to set and even that wasn't long.
 |
| Finished, quilted project |
1. Fold square of 1090% cotton fabric in half 4 times. Choose very low numbered tension and increase stitch length to longest. This will make it easy to remove stitches after the fabric has been dyed. Stitch in radiating pattern.
 |
| Fabric folded 4 times and stitched in radiating pattern |
2. Cover work table with plastic and set up workspace.
Materials: 2 plastic bins - one for hot water and one for cold water
1 microwave safe bin with lid
1 pair rubber (or other) protective gloves
3 small containers to hold dye and 1 small container to hold hot water
Microwave safe measuring cup (optional)
2 inexpensive, plastic lab pipettes or 3 paint brushes
Microwave safe plastic wrap
1 spray bottle with clear water.
Paper towels or sacrificial fabric for clean-up
Sewing machine (hand stitching optional)
Notions: thread, seam ripper
 |
| Table set-up |
4. Fill bin with very hot water. Hottest tap water is okay.
5. Soak folded, stitched fabric in bin of hot water.
6. Put on protective gloves
7. Add approximately 3 Tbs. of 3
Rit Concentrated Liquid Dye colors to 3 separate small containers.
8. Add 3 drops of very hot water to dye in each small container.
 |
| These are different colors, but the process is the same as describe herein |
8. Remove folded, stitched fabric from bin of hot water. Squeeze out excess water.
9. Use lab pipette or paint brush to apply dye to fabric. Apply lightest color first. Allow edges of colors to meet. I did not take a picture of this step, but I played with an image in a photo editing program to illustrate this step.
10. Spray
Rit Color Stay Dye Fixative liberally onto dyed fabric. Let sit for 20 minutes so that the fixative can work its magic.
11. Place dyed fabric into microwave safe container with lid. Place the lid on top of the container but do not secure it firmly. Steam will need space to escape.
12. Heat the fabric for 35 seconds on a high setting.
13. Remove fabric from microwave and let cool to the touch.
14. Rinse fabric in bin with cold water. Squeeze out excess water.
14. Use seam ripper to remove stitching.
15. Lay out 2 overlapping lengths of microwaveable plastic wrap in lengths that are longer and wider than the dyed fabric.
 |
| Overlapped lengths of microwaveable plastic wrap |
16. Lay the fabric on top of the microwaveable plastic wrap.
17. Use paint brush or pipette to drop 3rd color into center of each circular shape.
 |
| Third color added to fabric |
18. Spray liberally again with
Rit Color Stay Dye Fixative. Let sit for 20 minutes.
19. Lay two more overlapping sheets of microwaveable plastic wrap on top of fabric.
20. Fold over all edges to make an envelope.
 |
| Plastic wrap envelope |
21. Fold envelope in half.
 |
| Envelope folded in half |
22. Fold envelope again. This packet will prevent the third color bleeding into other sections.
 |
| Final fold to prep for further setting in microwave |
23. Place the packet in microwave and heat for 35 seconds to create steam inside packet. This will further set the colors.
 |
| Packet in microwave |
24. Heat the packet in microwave for 35 seconds--NO LONGER!
25. After 35 seconds in the microwave the packet will puff up. This is because of
steam that is created within the sealed plastic wrap packet.
 |
| Packet puffed after being heated in microwave. |
26. Carefully remove the packet from the microwave. It will be very HOT!
27. Let packet cool for 1 minute and then tear the packet open.
 |
| Packet torn open to reveal dyed fabric |
28. Rinse fabric in cold water.
29. Squeeze out excess water
30. Lay out or hang fabric to dry.
31. Iron finished dyed fabric.
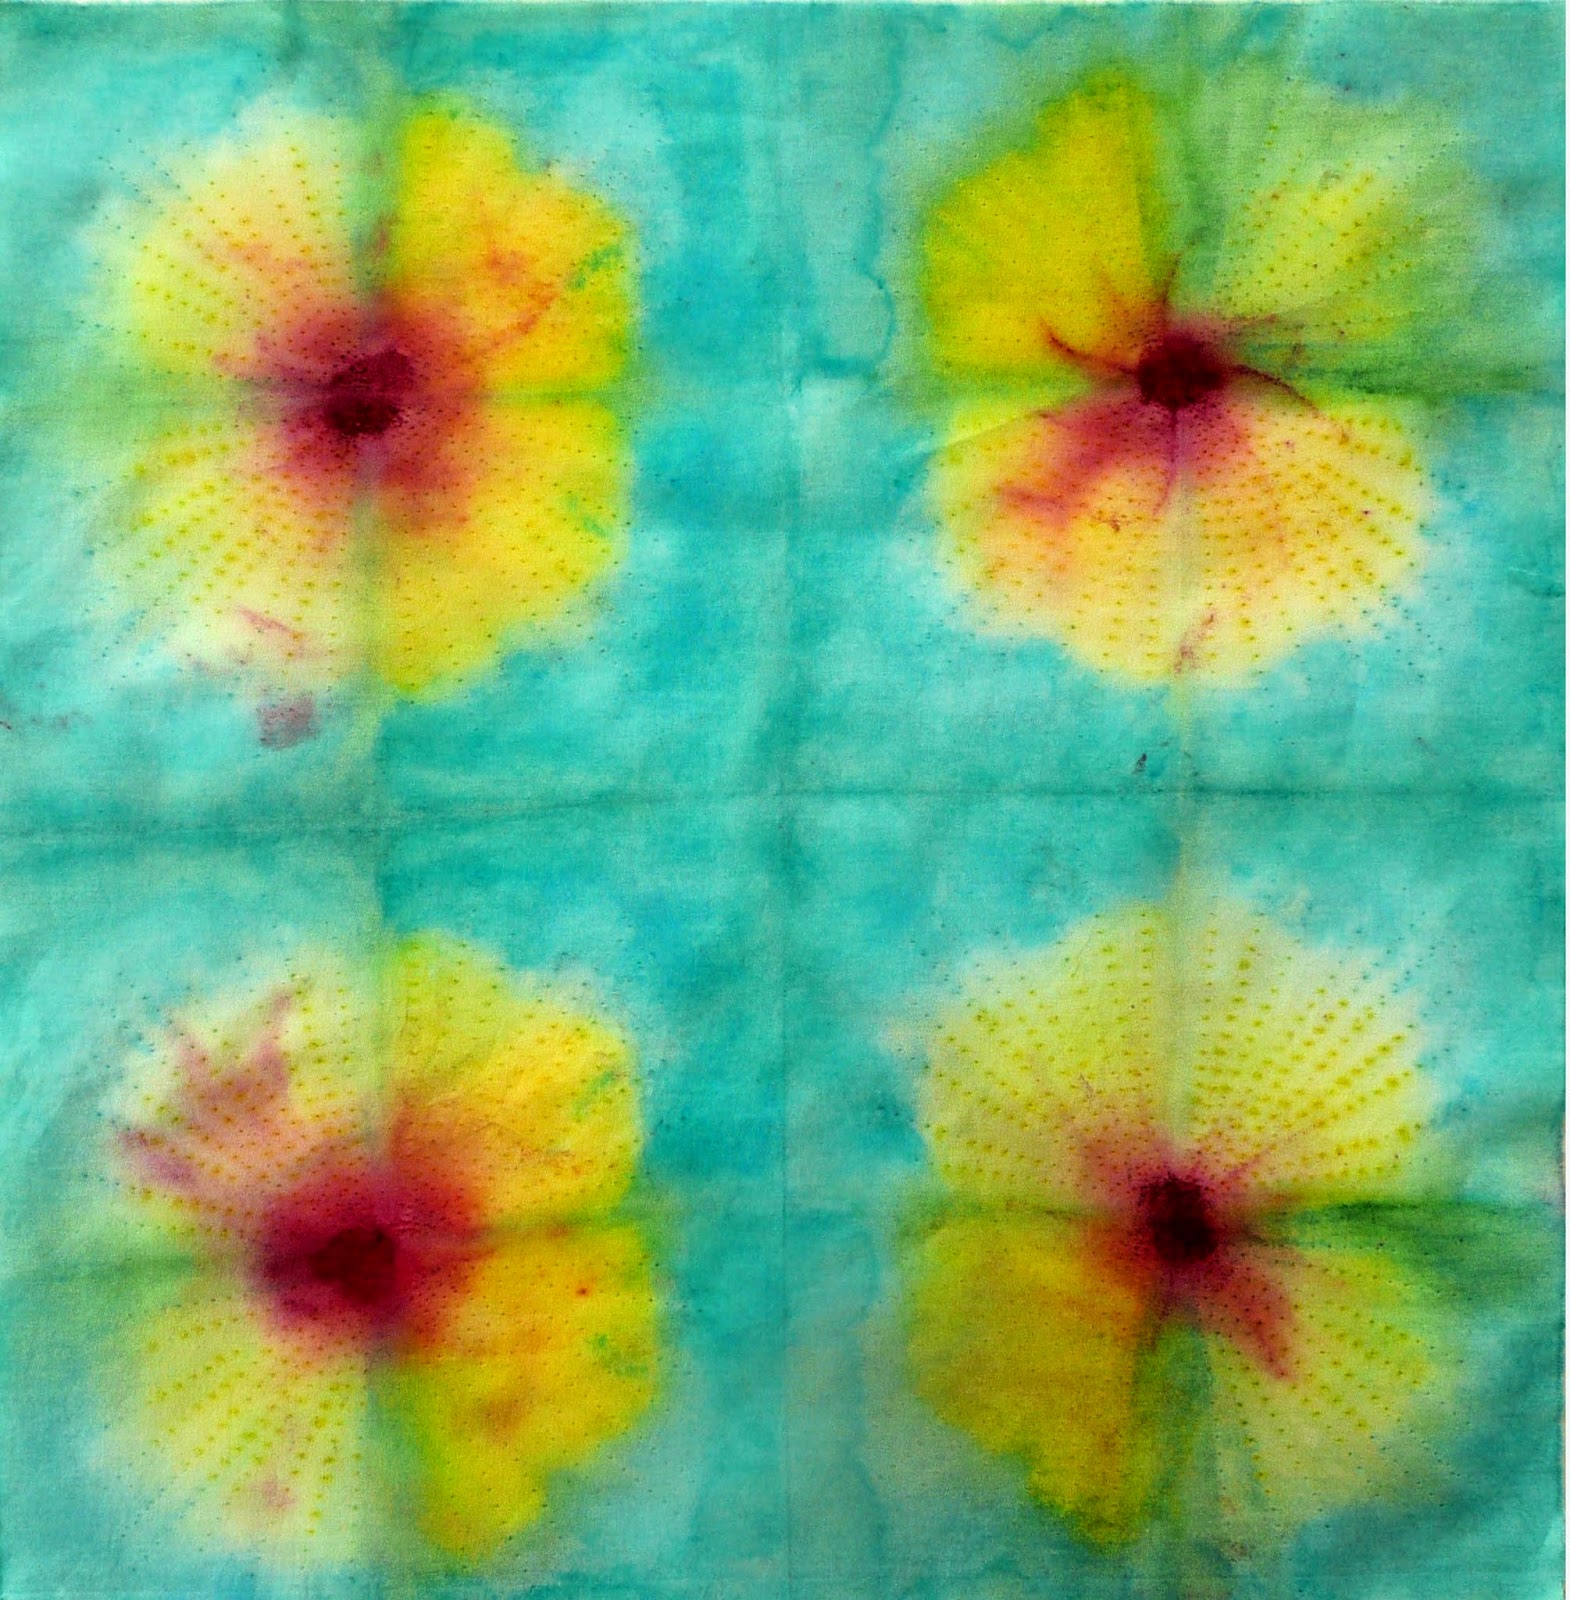 |
| Finished dyed fabric |
Whatever colors you opt to use and however you choose to use this fabric, it is sure to be a winner. The chosen method for this work was to make a pillow-slip quilting "sandwich"; however, it could have been finished in any number of ways ranging from binding it to closing the edges with a zigzag satin stitch, etc., or you might even cut it up and incorporate it into another project. Once again, here is how I used it.
 |
| Front view of dyed and quilted fabric |
 |
| Back side of quilted, dyed fabric |
And always remember, never fear to experiment.
Sometimes wonderful things happen.
© Linda Friedman 2014. All rights reserved.


