A site dedicated to fiber arts, art quilts, soft sculpture, surface design, and optimizing techniques in other artistic media.
Sunday, April 17, 2011
San Diego Etsy Sellers - A New Venue
Annette Palmer, the proprietor of Earthsong Bookstore in Del Mar, California, has organized a new group called San Diego Etsy Sellers Meetup and will graciously open her store for members to display and sell their handmade creations on the last Saturday of each month. She has also started a blog at http://sandiegoetsysellers.wordpress.com/ and a Twitter account at #sandiegoetsysellers. It was great to see these three of my quilts featured on this new blog.
Wednesday, April 13, 2011
"On the Edge"-- A New Work
Completed this new work yesterday and managed to post it on Etsy today. I was greatly moved by the Quilt Visions of San Diego exhibit that featured the work of Jeanne Lyons Butler a couple of weeks ago and had to experiment with white stitching on a white background with simple line and shape embellishments. I also wondered how the hard edges of aluminum would work with an elegantly delicate voile. I liked the results and wanted the 6 1/2" x 9 1/2" quilted work to stand alone as an independent work of art, not merely a small art quilt, so prepped a stretched artist canvas with gesso, highly textured it with modeling paste to reflect the quilting lines, and then painted it with a rich, silver screen printing ink. Once that element was completely dry, I hand stitched the art quilt to the canvas. The art quilt is completely finished with double fold binding, a hand dyed backing and a label; however those elements cannot be seen without detaching the work from the canvas.
Thursday, March 31, 2011
Fabric and Fiber Bead Play
Instead of putting my fabric scraps into the scrap bag, I've started pulling out pieces that are large enough to cut at least 1" strips out of and making fiber beads. Today was a day to "play" with them. As time goes by, the pile will surely grow.
Wednesday, March 30, 2011
Grandma's Attic
The last couple of days have been great fun. Another of my works, "Grandma's Attic" was included in an Etsy Treasury that can be seen at
http://www.etsy.com/treasury/4d2cfb08cd5b6d9108bb76c8/grandmas-treasures
http://www.etsy.com/treasury/4d2cfb08cd5b6d9108bb76c8/grandmas-treasures
Monday, March 28, 2011
Etsy Treasury
I just got word that my "Escape and Return" art quilt is in an Etsy Treasury today. The treasure can be seen at www.etsy.com/treasury/4d91646689646d91d3576dd5/escapes.
Saturday, March 26, 2011
"Farewell Toast to Winter"
This week I finished two more art quilts and today listed one of them, "Farewell Toast to Winter," on Etsy.com. This was a fun and challenging work to execute. Instead of traditional batting, I used stiff interfacing because I knew that the dense thread drawing would tend to pucker and would need a strong stabilizer. That choice became the major challenge because the interfacing creates lines where it is bent. Instead of this being a negative, it yielded an opportunity for further thread embellishment and texture. Here are some photos of the piece.
Full Front Image
28 3/4" x 14 1/2"
Close-up of Stitching (Vase Bottom)
Closeup of Stitching (Stemware)
Closeup of Flower Shape
Reverse
Wednesday, March 2, 2011
Silk Screen - Great Instructions found
A while back I experimented with using old, thick, white, fence paint to mask a silk screen that I made from a large embroidery hoop. It worked out very well but I am running low on this thick paint that is not useable for anything else. Moreover, the need to mask the projects in the garage and the drying time made this method of masking silk screens a bit laborious. Here is a picture of the screen I made using this method.
Close-up Of Second Screened Heart Image
Today I set about searching the Internet for silk screen masks and found that Speedball carries rather reasonable products that mask and will clean out of the screen with soap and water when desired. The ones that most interest me are the Speedball Screen Drawing Fluid and Speedball Screen Filler. First a design can be drawn onto the screen with a brush using Screen Drawing Fluid. When that is dry, the Screen Filler is applied. When the Screen Filler is completely dry, cold water washes out the Screen Drawing Fluid but leaves the Screen Filler and then the screen is masked and ready to use.
Super! I've ordered one bottle of each of these items and will write about their effectiveness when I use them. These items are available on-line at various sites; however, I ordered mine from Dick Blick.
I also found a tremendous site that gives detailed instructions on various silk screening techniques including step by step instructions on how to use the Drawing Fluid and the Screen filler. If you're interested, check out: http://www.reuels.com/reuls/Silk_Screen_Printing_Instructions.html.
In order to screen the heart onto the figure I made a quick mask using a sheet of overlapping masking tape onto which I drew a heart and then cut it out with a craft knife. Then I affixed that sheet of tape to the back of a small embroidery hooped screen.
Small screen for heart image
Close-up Of Second Screened Heart Image
Since I had two more T-shirts to screen, I had to wash out the screen between printings so that the ink wouldn't set up and ruin the screen. The washing process loosened the tape significantly and it was difficult to execute a clear print by the thrid screening.
Today I set about searching the Internet for silk screen masks and found that Speedball carries rather reasonable products that mask and will clean out of the screen with soap and water when desired. The ones that most interest me are the Speedball Screen Drawing Fluid and Speedball Screen Filler. First a design can be drawn onto the screen with a brush using Screen Drawing Fluid. When that is dry, the Screen Filler is applied. When the Screen Filler is completely dry, cold water washes out the Screen Drawing Fluid but leaves the Screen Filler and then the screen is masked and ready to use.
Super! I've ordered one bottle of each of these items and will write about their effectiveness when I use them. These items are available on-line at various sites; however, I ordered mine from Dick Blick.
I also found a tremendous site that gives detailed instructions on various silk screening techniques including step by step instructions on how to use the Drawing Fluid and the Screen filler. If you're interested, check out: http://www.reuels.com/reuls/Silk_Screen_Printing_Instructions.html.
Wednesday, February 9, 2011
Tuesday, February 8, 2011
Link to TAFA Logo Competition
For all who are intested in entering art work for the new TAFA logo, here is the link:
http://www.tafalist.com/p/new-site.html
The present logo is already great. Imagine how phenomenal the facelift of the TAFA site will be when it launches the winner's logo design! Wowie.
http://www.tafalist.com/p/new-site.html
The present logo is already great. Imagine how phenomenal the facelift of the TAFA site will be when it launches the winner's logo design! Wowie.
"Goodness and Health" Mojo Pocket Dolls
"Goodness"
"Health"
Over the past few days, I've eked out the time to post a few more of my Mojo Pocket Dolls with their own little pocket purses on Etsy. "Goodness" and "Health" are the most recent. Making these dolls is quite fun. Each polymer clay face takes on a life of its own. My scrap bag overfloweth with prized snippets and these dolls offer me the opportunity to dig back into the bag to revisit these old fabric friends. Saturday, February 5, 2011
TAFA
TAFA - The Textile and Fiber Arts List is getting a facelift. The site is posting a competition for a new logo, so if you are an artist who enjoys creating eye popping logos, visit the site and join in the competition. The winner will receive a great prize.
I have created a set of Mojo Pocket Dolls that I will soon be listing in my Etsy store. They need better pictures than what I now have, but here is a peek of just a few. Each was made from fabrics in my quilting stash and each comes with its own little pocketbook.
"Love"
"Joy"
"Luck"
"Hope"
"Wisdom"
Friday, February 4, 2011
The Work Surface Grows
Merely spanning two tables with a sheet of plywood made working on a fairly large art quilt so much easier than trying to work on round and oval tables that the idea grew and grew. By merely connecting two tables with plywood, the center of which is supported by a small rolling cabinet, I now have created over 9 feet of flat work surface. The bonus is that it forms a return from my sewing table that also acts as a support for larger quilts when they are taken to the sewing machine. It is my dream to someday have a "real" worktable of this size with shelves and drawers under it, but until that time, this setup is working famously.
Tuesday, January 25, 2011
Quick and Easy Large Workspace
Since my sewing table has all manner of sewing notions on it, that leaves minimal design workspace. My other work surfaces are two round table and they just aren't appropriate for working on a fairly large project. For years I have used a 4" x 8" x 1/2" felt covered piece of plywood as a portable design and photography "wall". It dawned on me today that I could move the two round tables a bit closer together and span the plywood "wall" between them. Perfect! It's not pretty, but it sure works.
Unorthodox Extension for Sewing Table
In order to make room in my diminutive living room for a fairly large Christmas Tree last month, I moved a rather small library table to the studio and plopped it up against my sewing table, just to keep it out of the way. Serendipity can lead to most wonderful ideas. As I was working on a fairly large quilt, it draped out onto the library table and this made the machine quilting process much easier that it is to wrangle the whole thing on one's lap.
After the holidays, the tree came down and I toyed with the idea of leaving the library table against the sewing table, but that really wasn't possible because I use that table as a laptop computer and printer table. It dawned on me that I had purchased two tripod type roller arm systems to handle large pieces of wood that roll off my table saw in the garage. I still don't know why I purchased two. I suppose the price was too good to pass up.
I put the adjustable height roller unit together, found a scrap piece of 1/4"" plywood, covered it with clear vinyl, clamped the plywood to the table with the other end of the plywood resting on the roller assembly. This makes a nifty extension for the sewing table and it's other great features are that it is light weight, can easily be disassembled and can easily be put away if more floor space is needed. Here 'tiz.
Drats and Double Drats - Serger Threading Problem
Before prewashing fabric so that I can paint the background for a new quilting project, I pulled out my eency weency Singer TS +TS380 serger so that the edges wouldn't fray in the washing machine. The serger is almost like a toy but it works just fine for small projects that don't require the finished precision of the higher level sergers. When I first bought it, it took me 3 hours and ordering an instruction book online to get the darned thing threaded but pure stubborness got the deed done. I swore at that time that I would never, ever thread the thing again. I found that one can change threads by tying the ends of threads togehter and running them through the threading mechanism so that rethreading would not be an issue.
Much to my chagrin this morning I found that the thread on one of the spools had broken. Oh, no, Mr. Bill! I hauled out the instruction booklet but there was absolutely no way for me to get the darned thread through the backside hole of the 3rd little serger arm. Guess I'll have to take it to a sewing machine place and pay someone to do it for me. Rats.
Here's the little devil...
Exciting News from Mia Bloom Designs
I found out from Mia that she has multiples of her cards so I bought the heart with the flames. Now, I need to also buy one each of these.
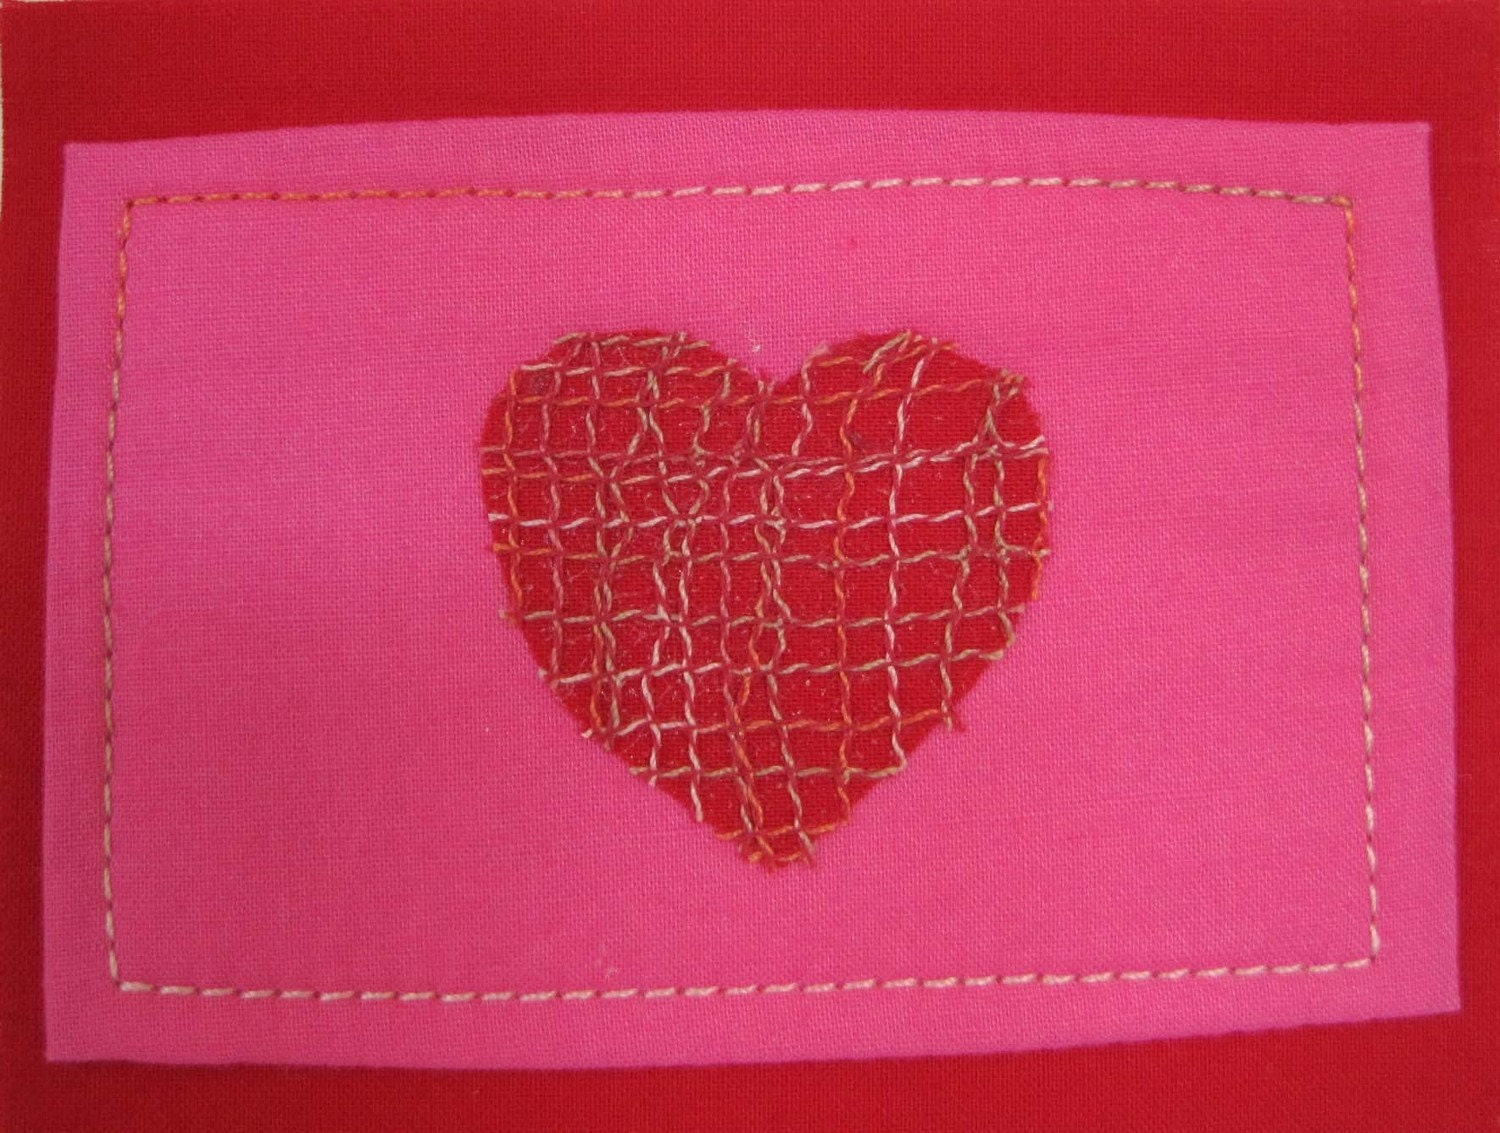
You, too, can have one of these unique cards by Mia Bloom Designs. Just visit her shop at:
http://www.etsy.com/shop/MiaBloomDesigns


You, too, can have one of these unique cards by Mia Bloom Designs. Just visit her shop at:
http://www.etsy.com/shop/MiaBloomDesigns
A Great Find - MIA BLOOM DESIGNS!
Mia Bloom, a superbly creative art quilter, has a new store on Etsy that presently features three of her fiber arts Valentine cards and I WANT THIS ONE.
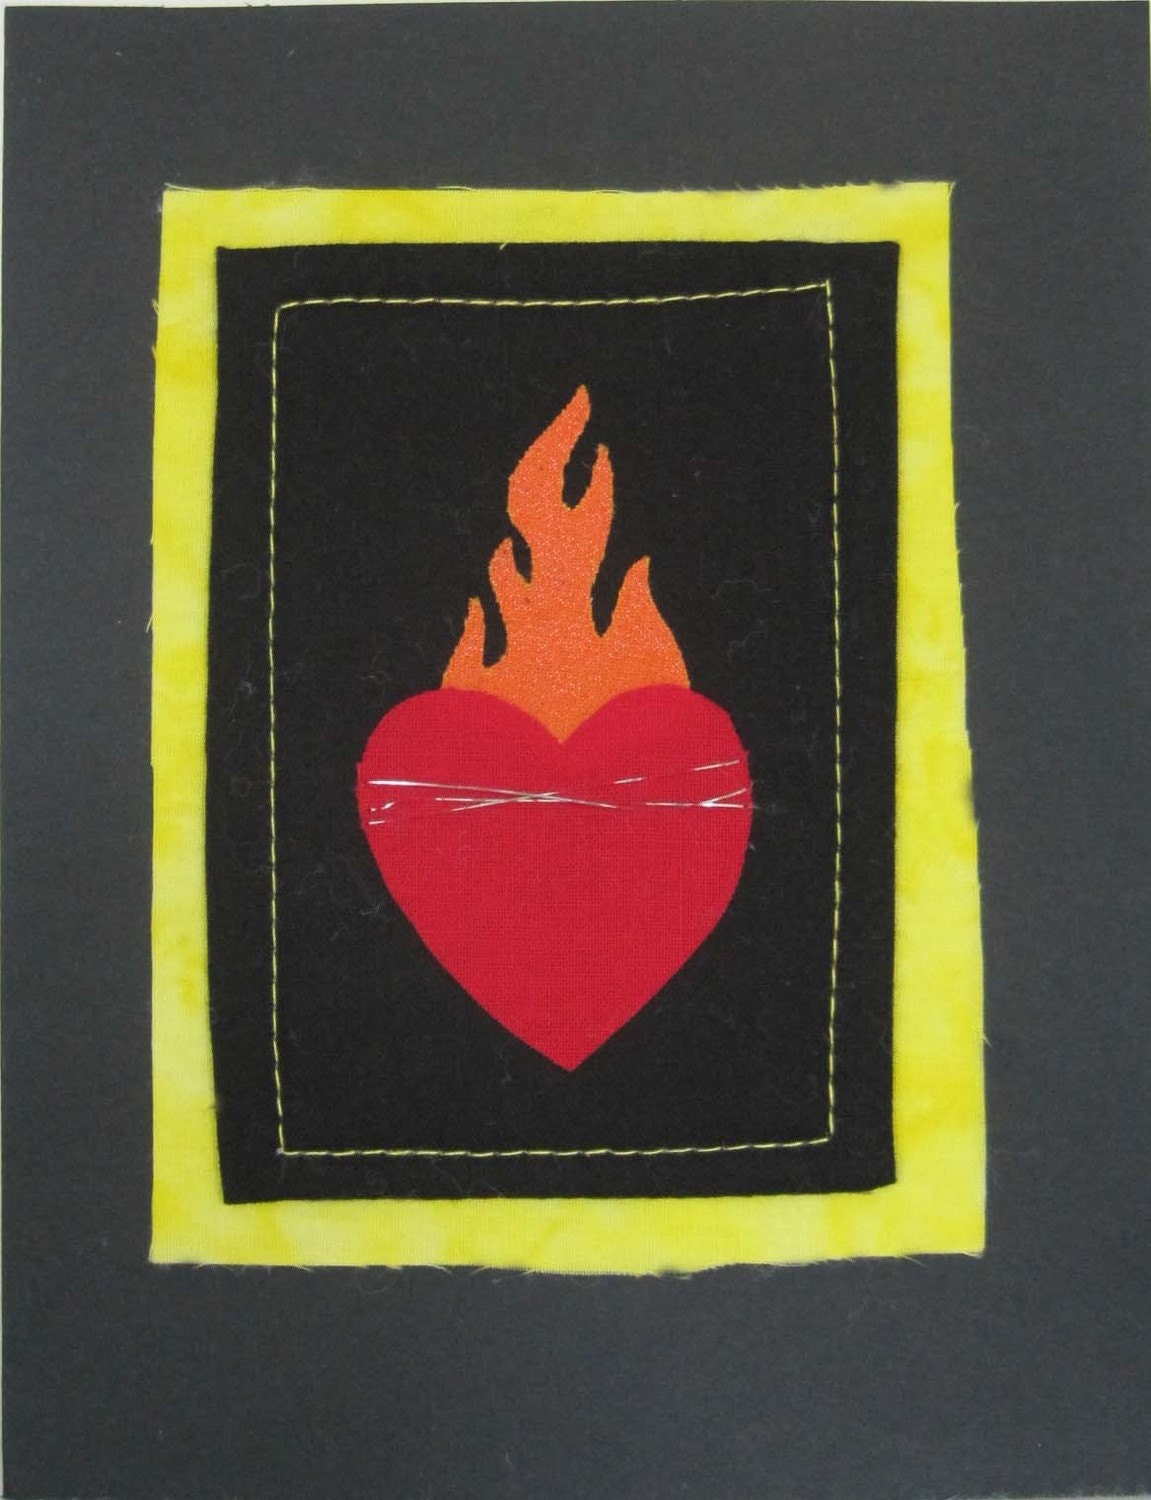
For a visual treat I highly recommend that you check out Mia's blog at
http://miabloomdesigns.blogspot.com/
and her Etsy Store at
http://www.etsy.com/shop/MiaBloomDesigns

For a visual treat I highly recommend that you check out Mia's blog at
http://miabloomdesigns.blogspot.com/
and her Etsy Store at
http://www.etsy.com/shop/MiaBloomDesigns
Friday, January 21, 2011
Pocket Book for Fiber Arts Post Cards
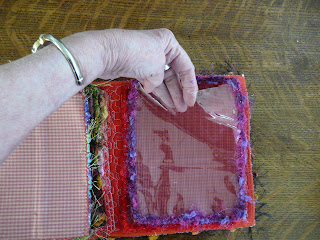
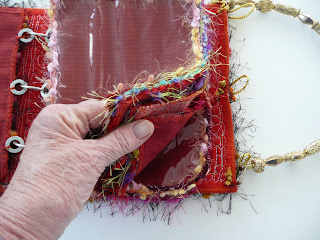
I belong to Serendipity Play Group, a mini group of Quilts on the Wall in Southern California. The focus of the group is on creating and exchanging 5" x 7" quilted, fiber arts post cards. A recent project is for each member to create his or her own "pocket book" for the post cards that are exchanged. Because my grandmother called her purse a pocket book, that image has always been among my fondest memories; thus, my take on the pocket book was the shape of a purse.
My Completed Pocket Book
Yarn Fringe Looped Through Binder Rings
Side View that Shows the Edges of Various Pages
How and Where to Insert the Post Card
Three Sets of Buttonholes were Made to Accommodate the Binder rings
(inside view)
Three Sets of Buttonholes were Made to Accommodate the Binder Rings
(Outside view)
Page Example with Clear Vinyl Stitched around Three Sides
and Yarn Stitched around Four Sides
Example of Page Back
with Handsewn Vinyl Pocket to Hold Card Documentation
Washers Sewn to Each Page
Another View of Washer Attachment
A Handle Was Sewn to the Back Side Edge of the Pocket Book and
Heart Shaped Buttons were Stitched to the Front Edge.
The Clousure Consists of Loops of Cording That Were Stitched to the Back Edge
and Looped Over the Heart Buttons
View of Various Pages
Open Pocket Book
Final View of Completed Pocket book
Subscribe to:
Posts (Atom)


